RayCluster Quickstart#
This guide shows you how to manage and interact with Ray clusters on Kubernetes.
Preparation#
Step 1: Create a Kubernetes cluster#
This step creates a local Kubernetes cluster using Kind. If you already have a Kubernetes cluster, you can skip this step.
kind create cluster --image=kindest/node:v1.26.0
Step 2: Deploy a KubeRay operator#
Follow this document to install the latest stable KubeRay operator from the Helm repository.
Step 3: Deploy a RayCluster custom resource#
Once the KubeRay operator is running, you’re ready to deploy a RayCluster. Create a RayCluster Custom Resource (CR) in the default namespace.
# Deploy a sample RayCluster CR from the KubeRay Helm chart repo:
helm install raycluster kuberay/ray-cluster --version 1.6.0
Once the RayCluster CR has been created, you can view it by running:
# Once the RayCluster CR has been created, you can view it by running:
kubectl get rayclusters
NAME                 DESIRED WORKERS   AVAILABLE WORKERS   CPUS   MEMORY   GPUS   STATUS   AGE
raycluster-kuberay   1                 1                   2      3G       0      ready    55s
The KubeRay operator detects the RayCluster object and starts your Ray cluster by creating head and worker pods. To view Ray cluster’s pods, run the following command:
# View the pods in the RayCluster named "raycluster-kuberay"
kubectl get pods --selector=ray.io/cluster=raycluster-kuberay
NAME                                          READY   STATUS    RESTARTS   AGE
raycluster-kuberay-head                       1/1     Running   0          XXs
raycluster-kuberay-worker-workergroup-xvfkr   1/1     Running   0          XXs
Wait for the pods to reach Running state. This may take a few minutes, downloading the Ray images takes most of this time. If your pods stick in the Pending state, you can check for errors using kubectl describe pod raycluster-kuberay-xxxx-xxxxx and ensure your Docker resource limits meet the requirements.
Step 4: Run an application on a RayCluster#
Now, interact with the RayCluster deployed.
Method 1: Execute a Ray job in the head Pod#
The most straightforward way to experiment with your RayCluster is to exec directly into the head pod. First, identify your RayCluster’s head pod:
export HEAD_POD=$(kubectl get pods --selector=ray.io/node-type=head -o custom-columns=POD:metadata.name --no-headers)
echo $HEAD_POD
raycluster-kuberay-head
# Print the cluster resources.
kubectl exec -it $HEAD_POD -- python -c "import ray; ray.init(); print(ray.cluster_resources())"
2023-04-07 10:57:46,472 INFO worker.py:1243 -- Using address 127.0.0.1:6379 set in the environment variable RAY_ADDRESS
2023-04-07 10:57:46,472 INFO worker.py:1364 -- Connecting to existing Ray cluster at address: 10.244.0.6:6379...
2023-04-07 10:57:46,482 INFO worker.py:1550 -- Connected to Ray cluster. View the dashboard at http://10.244.0.6:8265
{'CPU': 2.0,
 'memory': 3000000000.0,
 'node:10.244.0.6': 1.0,
 'node:10.244.0.7': 1.0,
 'node:__internal_head__': 1.0,
 'object_store_memory': 749467238.0}
Method 2: Submit a Ray job to the RayCluster using ray job submission SDK#
Unlike Method 1, this method doesn’t require you to execute commands in the Ray head pod. Instead, you can use the Ray job submission SDK to submit Ray jobs to the RayCluster through the Ray Dashboard port where Ray listens for Job requests. The KubeRay operator configures a Kubernetes service targeting the Ray head Pod.
kubectl get service raycluster-kuberay-head-svc
NAME                          TYPE        CLUSTER-IP    EXTERNAL-IP   PORT(S)                                         AGE
raycluster-kuberay-head-svc   ClusterIP   None          <none>        10001/TCP,8265/TCP,6379/TCP,8080/TCP,8000/TCP   57s
Now that the service name is available, use port-forwarding to access the Ray Dashboard port which is 8265 by default.
# Execute this in a separate shell.
kubectl port-forward service/raycluster-kuberay-head-svc 8265:8265 > /dev/null &
Now that the Dashboard port is accessible, submit jobs to the RayCluster:
# The following job's logs will show the Ray cluster's total resource capacity, including 2 CPUs.
ray job submit --address http://localhost:8265 -- python -c "import ray; ray.init(); print(ray.cluster_resources())"
Job submission server address: http://localhost:8265

-------------------------------------------------------
Job 'raysubmit_8vJ7dKqYrWKbd17i' submitted successfully
-------------------------------------------------------

Next steps
  Query the logs of the job:
    ray job logs raysubmit_8vJ7dKqYrWKbd17i
  Query the status of the job:
    ray job status raysubmit_8vJ7dKqYrWKbd17i
  Request the job to be stopped:
    ray job stop raysubmit_8vJ7dKqYrWKbd17i

Tailing logs until the job exits (disable with --no-wait):
2025-03-18 01:27:51,014	INFO job_manager.py:530 -- Runtime env is setting up.
2025-03-18 01:27:51,744	INFO worker.py:1514 -- Using address 10.244.0.6:6379 set in the environment variable RAY_ADDRESS
2025-03-18 01:27:51,744	INFO worker.py:1654 -- Connecting to existing Ray cluster at address: 10.244.0.6:6379...
2025-03-18 01:27:51,750	INFO worker.py:1832 -- Connected to Ray cluster. View the dashboard at 10.244.0.6:8265
{'CPU': 2.0,
 'memory': 3000000000.0,
 'node:10.244.0.6': 1.0,
 'node:10.244.0.7': 1.0,
 'node:__internal_head__': 1.0,
 'object_store_memory': 749467238.0}

------------------------------------------
Job 'raysubmit_8vJ7dKqYrWKbd17i' succeeded
------------------------------------------
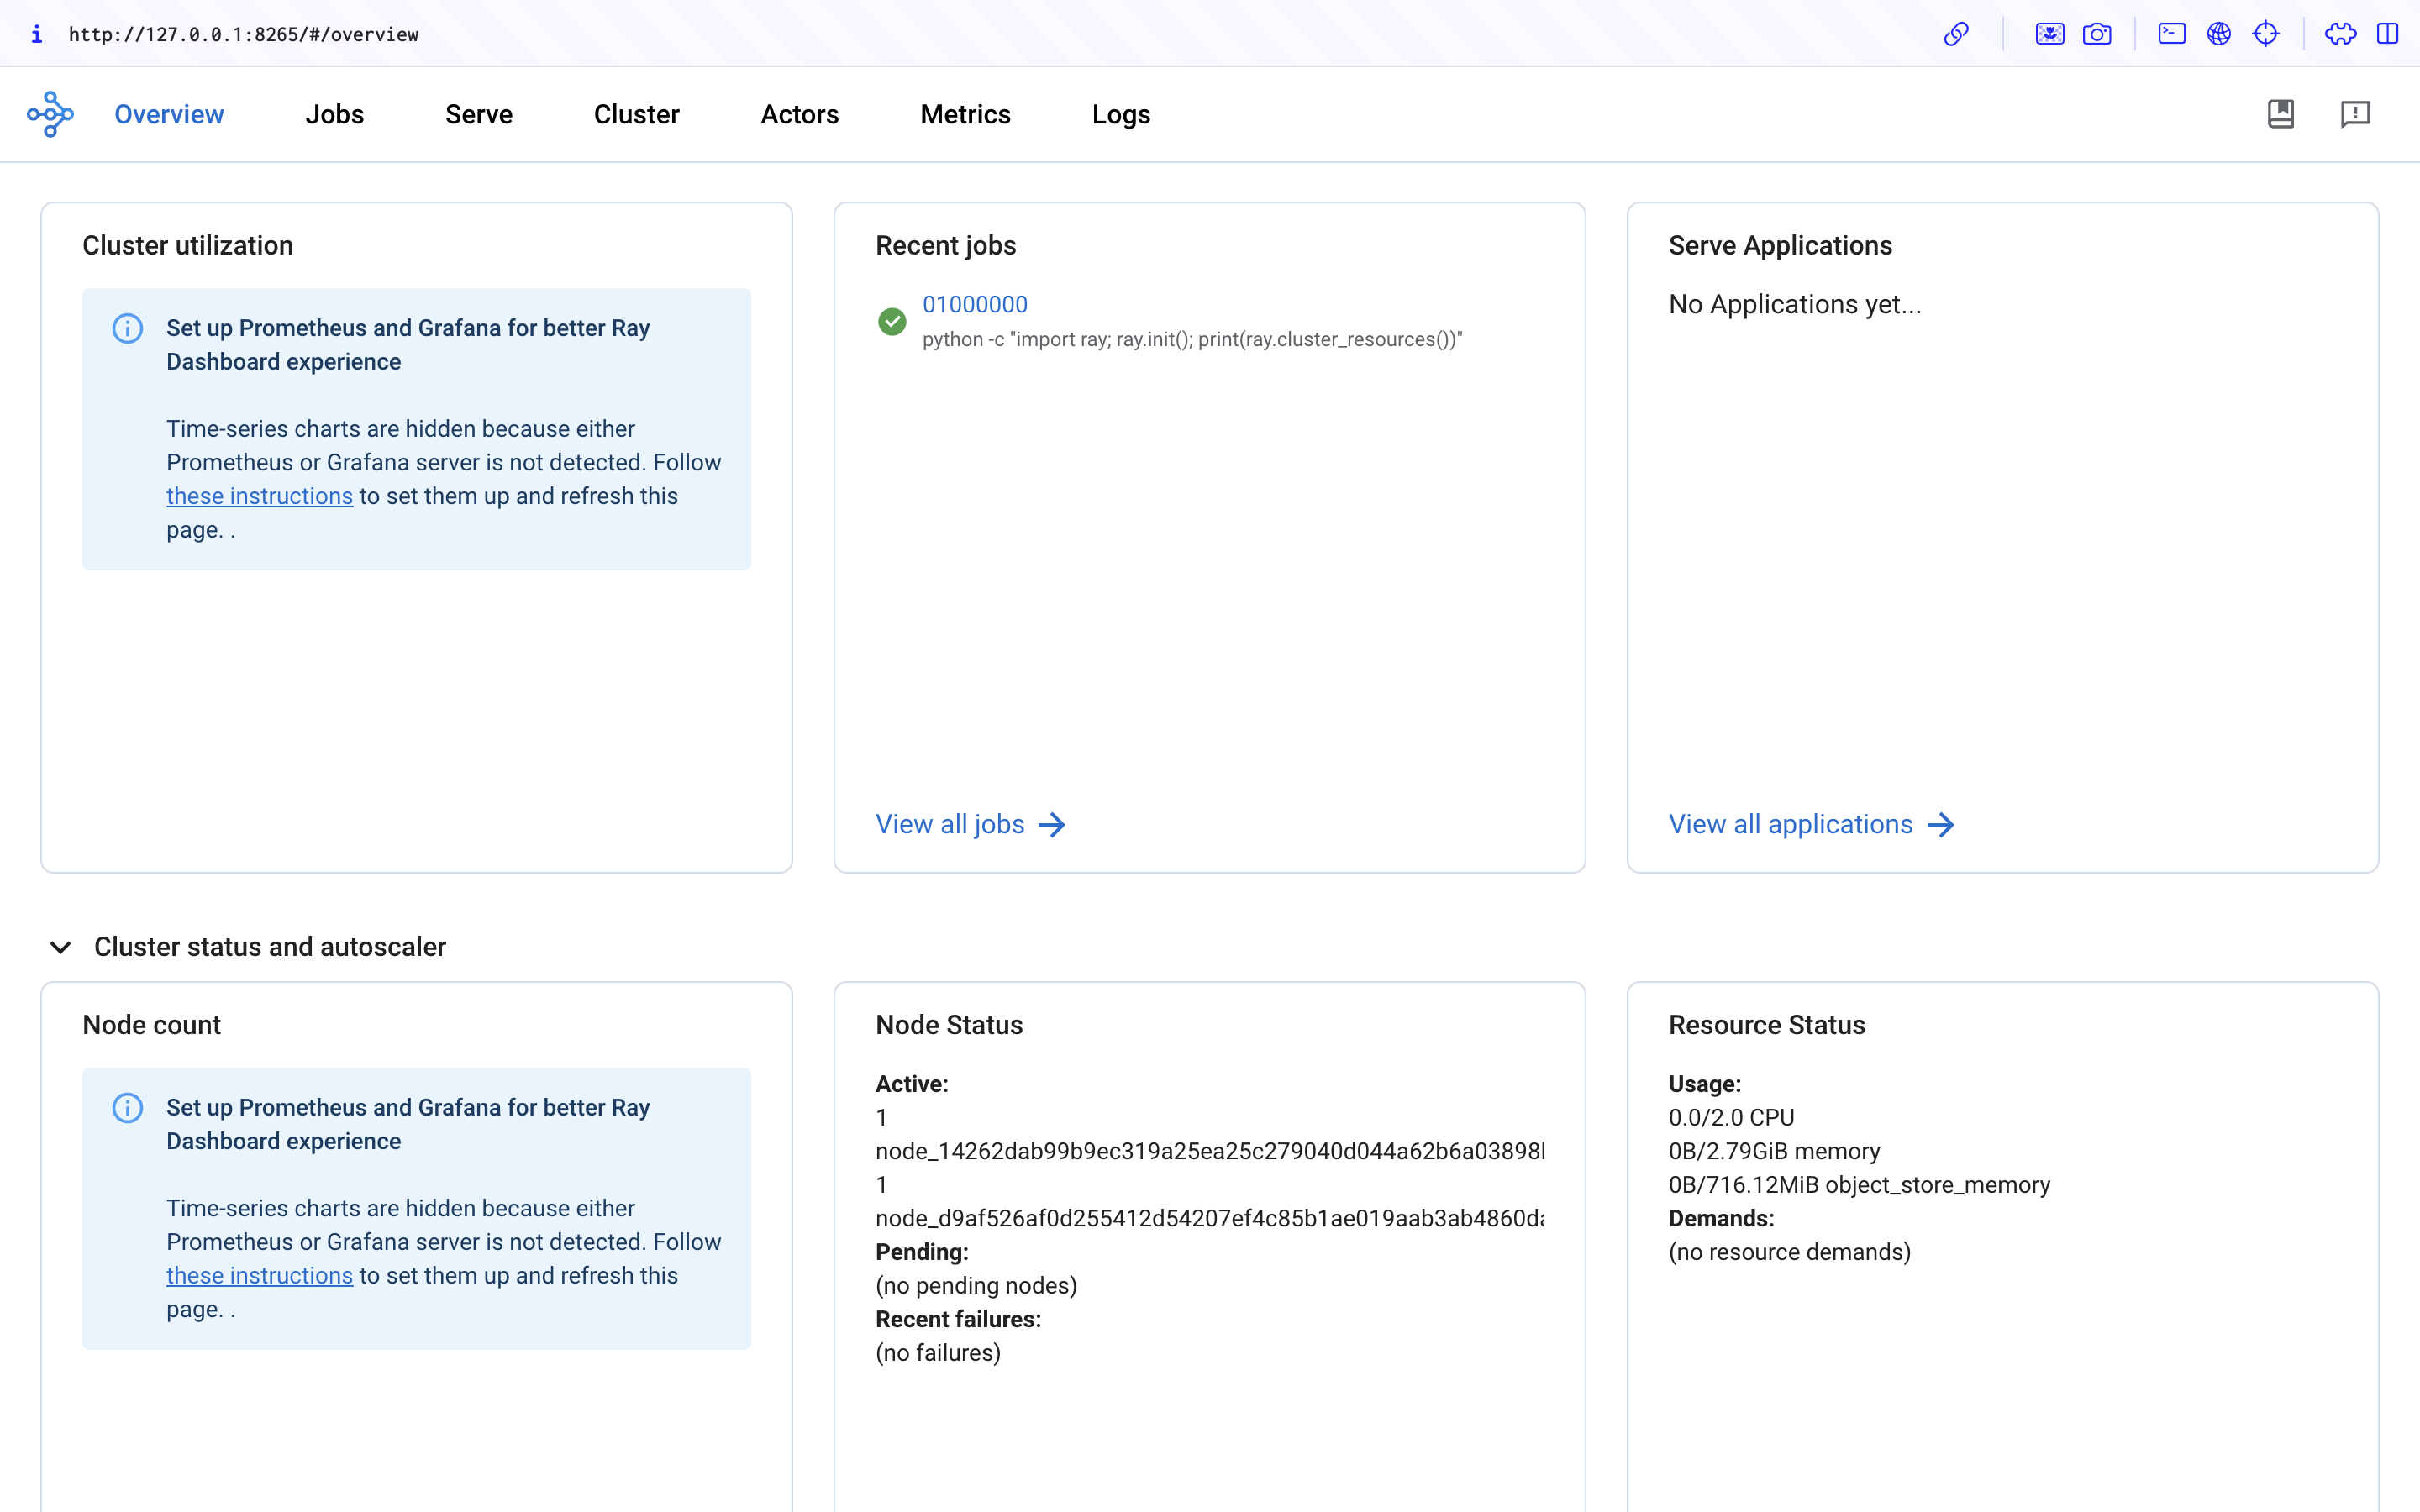
Step 5: Access the Ray Dashboard#
Visit ${YOUR_IP}:8265 in your browser for the Dashboard. For example, 127.0.0.1:8265. See the job you submitted in Step 4 in the Recent jobs pane as shown below.
Step 6: Cleanup#
# Kill the `kubectl port-forward` background job in the earlier step
killall kubectl
kind delete cluster